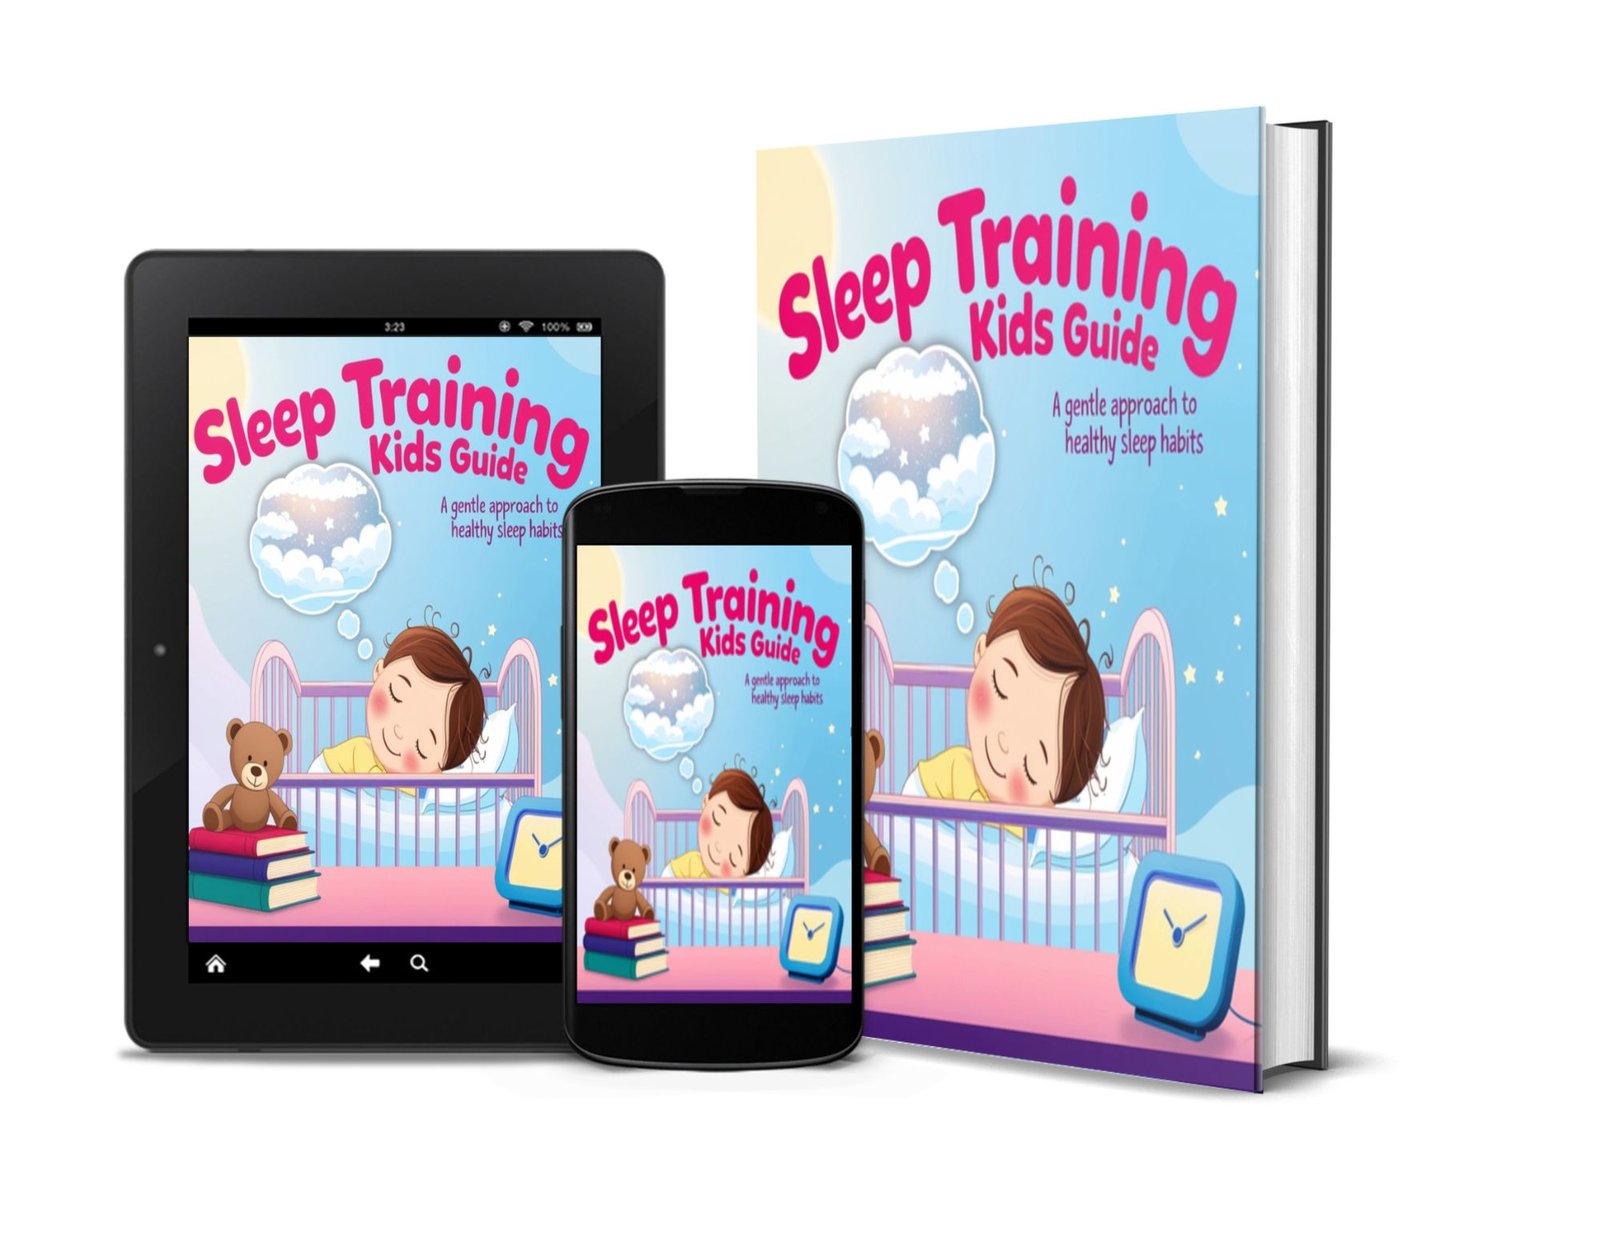
Sleep Training Kids Guide for Exhausted New Parents

If you’re an exhausted new parent desperately seeking a night of uninterrupted sleep, you’re far from alone. Sleep training kids—especially infants and toddlers—is one of the most debated and misunderstood parenting topics. But here’s the truth: it doesn’t have to be confusing, harsh, or emotionally draining. With the right approach, both you and your little one can enjoy deeper, healthier sleep within weeks (sometimes days).

This comprehensive guide breaks down what sleep training actually means, why it matters, and how to choose the right technique based on your child’s needs. Designed with clarity, science, and practicality in mind, this guide is your go-to resource for restoring peace at bedtime.

What Is Sleep Training & Why Is It Important?

Sleep training is the process of helping your child learn how to fall asleep independently, stay asleep longer, and self-soothe without relying solely on external cues like rocking, nursing, or being held. It does not mean letting your child cry endlessly. Instead, it’s about creating structure and predictable patterns.

Benefits of Effective Sleep Training Include:
  • Improved sleep for both child and parents

  • Better mood & behavior during the day

  • Healthier brain development & cognitive function

  • Reduced nighttime feeding dependence (when age appropriate)

  • Better parental mental health, especially for postpartum moms

Research confirms that babies and toddlers who sleep well tend to show stronger growth, emotional regulation, and learning patterns.

Signs Your Child May Be Ready for Sleep Training

Not all children reach readiness at the same time. Most infants begin showing cues between 4 and 6 months, though toddlers also benefit from structure.

Readiness Signs:

✔ Predictable eating schedule
✔ Ability to self-soothe for short periods
✔ Less reliance on nighttime feeding (4–6 months and up)
✔ Longer stretches of sleep during naps or night
✔ Ability to stay awake longer between naps

If your child is under 4 months, work on gentle sleep shaping rather than formal sleep training.

Read more

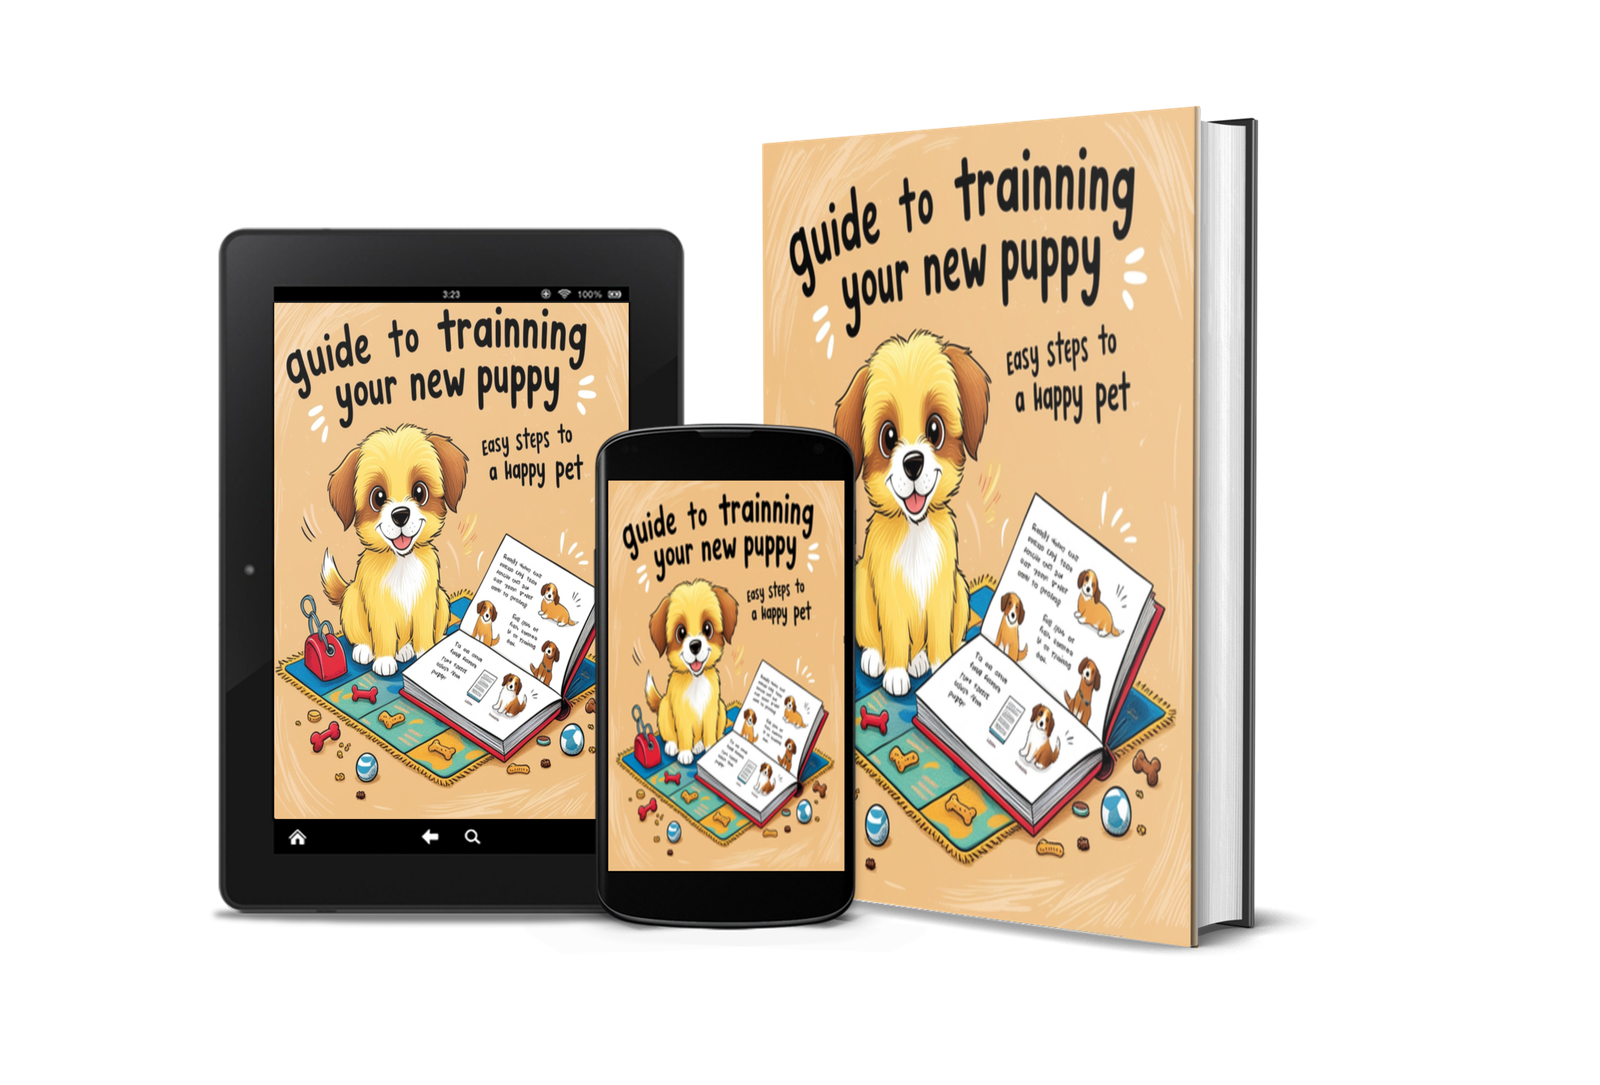
A Beginner’s Guide to Training Your New Puppy

Welcoming a new puppy into your home is an exciting adventure filled with joy, laughter, and the promise of companionship. However, it also comes with the responsibility of teaching your furry friend how to behave and thrive in their new environment. This guide is designed to provide new puppy owners with the essential knowledge and techniques for effective training, ensuring a happy, well-mannered dog.

In the following chapters, we will cover everything from understanding your puppy’s behavior and establishing routines to basic training commands and socialization techniques. With patience, consistency, and positive reinforcement, you’ll build a strong bond with your puppy while setting the foundation for a lifetime of good behavior. Let’s embark on this rewarding journey together and turn your puppy into a well-behaved member of your family! 🐾

Benefits of Puppy Training
  1. Builds a Strong Bond: Training reinforces your relationship with your puppy by establishing trust and clear communication.
  2. Prevents Problem Behaviors: Early training helps prevent issues like excessive barking, chewing, or jumping, making life easier for both you and your pup.
  3. Encourages Socialization: Training helps your puppy become comfortable around people, other dogs, and various environments, reducing anxiety and preventing aggression.
  4. Ensures Safety: A trained puppy is easier to control, making them safer around strangers, children, and other pets. Commands like “come” and “stay” can be life-saving in dangerous situations.
  5. Provides Mental Stimulation: Puppies need mental stimulation just as much as physical exercise, and training offers an excellent way to keep their minds engaged.

By following these training tips, you’ll not only have a well-behaved puppy but also one that is happy, confident, and eager to please.

What is the First Thing You Should Train Your Puppy?

The first thing to train your puppy is name recognition. Teaching your puppy to respond to their name lays the foundation for all future training. Once they know their name, it becomes easier to get their attention and introduce basic commands like “sit,” “stay,” and “come.”

Steps to Teach Name Recognition:

  • Say your puppy’s name in a calm and happy tone.
  • When they look at you, reward them with praise, treats, or a toy.
  • Repeat this several times throughout the day to reinforce the association.

Once your puppy consistently responds to their name, you can start working on other key commands. Positive reinforcement—rewarding good behavior with treats and praise—should be a cornerstone of all your training efforts.

What Age Should I Start Puppy Training?

The ideal age to start training your puppy is between 8 to 12 weeks old. At this stage, puppies are more receptive to learning and can start picking up simple commands. You should focus on positive reinforcement and avoid punishment, as this can create fear and hinder the learning process.

Training Tips for 8-12 Week Old Puppies:

  • Keep sessions short: Puppies have short attention spans. Aim for 5–10 minute training sessions, 2–3 times a day.
  • Focus on basics: Teach simple commands like “sit,” “come,” and “stay.”
  • Introduce crate training: Crates provide a safe space for your puppy and are helpful for house training.
  • Begin socialization: Introduce your puppy to different people, pets, and environments to build confidence and reduce fear.
How to Train a 4-Month-Old Puppy?

At 4 months old, your puppy is ready for more advanced training and socialization. They have more energy and focus, which allows for longer training sessions and the introduction of new skills.

Key Areas to Focus on for a 4-Month-Old Puppy:

  1. Potty Training: By 4 months, your puppy should be well on their way to being housebroken. Continue using crate training and take your puppy outside for potty breaks after meals, naps, and playtime. Consistency is crucial for preventing accidents.
  2. Basic Commands: Reinforce commands like “sit,” “stay,” and “come.” You can start adding new ones like “leave it” or “down.” Always reward your puppy for following commands to build positive associations.
  3. Leash Training: Leash training becomes more important as your puppy grows. Teach your puppy to walk beside you without pulling on the leash. Start indoors or in your yard, then gradually introduce more challenging environments.
  4. Socialization: At 4 months old, your puppy is in a critical window for socialization. Arrange supervised playdates with other dogs and expose your puppy to various settings like the park, stores, and different noises.
  5. Bite Inhibition: Puppies explore the world with their mouths, which means they may nip or bite. Teach your puppy bite inhibition by letting out a high-pitched “ouch” when they bite too hard, and then stop playing for a few minutes to show that biting stops the fun.

Training Sessions at 4 Months:

  • Gradually increase the length of training sessions to 15–20 minutes.
  • Use training as a bonding experience and to provide mental stimulation.
Read more

The Relationship Secrets Guide: Proven Secrets to Build Lasting Love for Beginners

How to Rebuild a Struggling Relationship

Relationships can recover when both partners are willing to improve.

Steps to Rebuild Connection
Identify Core Problems

Honest discussions reveal emotional issues.

Improve Communication

Open emotional conversations rebuild understanding.

Spend More Quality Time Together

Reconnection requires emotional presence.

Rebuild Trust Gradually

Trust restoration takes patience and consistency.

Consider Professional Guidance

Relationship counseling can provide healthy tools and perspective.

Healing becomes possible when both people commit to growth.

Relationship Advice for Beginners

If you are new to relationships, remember these important lessons:

  • Communication matters more than perfection
  • Trust takes time to build
  • Respect is essential
  • Emotional connection requires effort
  • Healthy boundaries protect relationships
  • Patience strengthens love
  • Small acts of kindness matter greatly

Healthy relationships are built step by step through daily emotional care.

How Emotional Intelligence Improves Relationships

Emotional intelligence helps people:

  • Understand emotions
  • Communicate better
  • Manage conflict calmly
  • Show empathy
  • Build stronger emotional bonds
Ways to Improve Emotional Intelligence
Practice Self-Awareness

Understand your emotional reactions.

Improve Empathy

Try to understand your partner’s perspective.

Control Emotional Reactions

Respond thoughtfully instead of reacting impulsively.

Emotional intelligence creates healthier communication and stronger love.

Creating a Long-Term Relationship Vision

Strong couples often share future goals and dreams.

Examples include:

  • Financial plans
  • Family goals
  • Travel dreams
  • Career support
  • Lifestyle choices

Shared vision creates emotional unity and long-term direction.

Final Thoughts on Building Lasting Love

Building lasting love is not about perfection. It is about emotional connection, trust, communication, respect, patience, and consistent effort.

Healthy relationships grow when both partners:

  • Communicate honestly
  • Support each other emotionally
  • Respect boundaries
  • Practice kindness daily
  • Continue growing together

Love becomes stronger when nurtured consistently over time.

Whether you are beginning a new relationship or improving an existing one, these proven relationship secrets can help create deeper emotional connection and long-term happiness.

Read more

Wildflower Flowerbed Clipart: A Creative Bloom for Your Digital Designs

In the world of digital art and design, clipart has become an indispensable tool for creators. Among the vast categories of clipart available, Wildflower Flowerbed Clipart stands out for its natural charm, vibrant colors, and endless versatility. Whether you’re a graphic designer, teacher, blogger, or DIY enthusiast, this type of clipart can add a whimsical, earthy touch to your creative projects.

In this article, we’ll explore what wildflower flowerbed clipart is, how it’s used, why it’s so popular, and where to find the best high-quality clipart for your needs. We’ll also discuss tips for using it effectively in both personal and commercial projects. Let’s dive into the colorful world of wildflowers and unlock the full potential of flowerbed clipart!

🌸 What is Wildflower Flowerbed Clipart?

Wildflower Flowerbed Clipart refers to digital illustrations or images of wildflowers arranged in a garden-like setting, typically designed for use in digital or print projects. These clipart sets often feature:

  • A variety of hand-drawn or watercolor wildflowers

  • Natural elements like grass, soil, and garden arrangements

  • Bright, pastel, or earthy color palettes

  • High-resolution PNG or JPG files with transparent backgrounds

Unlike standard floral clipart, wildflower flowerbed designs emphasize the raw beauty and diversity of nature. They reflect meadows, untamed gardens, and seasonal blooms that evoke feelings of freedom and peace.

*INCLUDED FILES*

1 PDF with link where to download 12 HIGH Resolution JPG/PNG images.

Please note that these files come with a TRANSPARENT background.

Digital file type(s): 1 ZIP File.

This clipart bundle will be perfect for a variety of your creative projects – nursery wall art or decor, junk journals, greeting cards, invitations, prints, mugs, apparel, social media posts or whatever you like!

Read more

Millionaire Dollar Secret: Step-by-Step Blueprint to Wealth

Introduction

Welcome to “Millionaire Dollar Secret” — your ultimate guide to unlocking the hidden blueprint of wealth creation. This eBook is designed for aspiring entrepreneurs, professionals, and anyone eager to learn the actionable steps to financial freedom. Whether you’re starting with nothing or looking to accelerate your journey, the information here is designed to be your catalyst for change.

Becoming a millionaire isn’t just for lottery winners or tech entrepreneurs — it’s a strategic, disciplined journey that anyone can begin. The real “Millionaire Dollar Secret” lies in building the right mindset, setting clear financial goals, and consistently taking steps toward long-term wealth. This article unveils a step-by-step blueprint to financial freedom that’s practical, proven, and accessible to everyone — whether you’re starting out or looking to optimize your current path to wealth.

Step 1: Develop the Millionaire Mindset

Every financial journey starts in the mind. Millionaires think differently about money, risk, and opportunity. They focus on abundance over scarcity, believe in continuous growth, and understand that success is the result of discipline, not luck.

Key Traits of the Millionaire Mindset:

  • Growth orientation: Constantly learning and adapting

  • Delayed gratification: Trading short-term pleasure for long-term gain

  • Opportunity-seeking: Seeing problems as profitable possibilities

  • Accountability: Taking ownership of both failures and successes

By shifting your mindset from consumer to creator, you begin to think like an investor, a builder, and a strategist.

Step 2: Set Clear Financial Goals

Wealth without direction is chaos. Millionaires don’t drift — they set specific, measurable goals that guide their actions. Whether it’s owning a home, retiring early, or building passive income, clarity fuels commitment.

How to Set Wealth Goals:

  • Define short-term (1 year), mid-term (3–5 years), and long-term (10+ years) goals

  • Use SMART criteria: Specific, Measurable, Achievable, Relevant, and Time-bound

  • Break big goals into small, daily actions

When you write down your financial goals and review them regularly, you’re far more likely to achieve them.

Step 3: Master Budgeting and Money Management

Budgeting is your financial compass. Without it, you may earn more but still feel broke. Millionaires know every dollar has a job — to grow, multiply, or protect.

Effective Budgeting Tips:

  • Follow the 50/30/20 rule (Needs/Wants/Savings)

  • Use budgeting tools or apps to track expenses

  • Automate savings and bill payments

  • Review and adjust monthly

Budgeting isn’t about restriction — it’s about empowerment. It helps you take control of your financial future, not just react to it.

Read more

Best Email Marketing Service (Step-by-Step Guide)

Introduction

Email marketing remains one of the most powerful tools for businesses, bloggers, and marketers alike. Whether you’re looking to boost your sales, connect with your audience, or nurture leads, choosing the best email marketing service can make all the difference.

In this step-by-step guide, we’ll walk you through everything you need to know to pick the best platform for your needs and start building high-performing email campaigns.

Why Choosing the Right Email Marketing Service Matters

Before we dive into the steps, it’s important to understand why selecting the right service is crucial:

  • Better Deliverability: Ensures your emails land in inboxes, not spam folders.

  • Ease of Use: A user-friendly platform saves time and reduces frustration.

  • Automation Features: Helps you engage with your audience effortlessly.

  • Scalability: Allows your campaigns to grow as your business grows.

  • Analytics and Reporting: Shows you what’s working and what’s not.

With the right email marketing service, you’ll not only simplify your marketing efforts but also maximize your return on investment (ROI).

Step 1: Identify Your Email Marketing Goals

Before you even compare services, get clear about your goals. Ask yourself:

  • Are you looking to send newsletters, product updates, or promotional offers?

  • Do you need automation like welcome sequences or abandoned cart emails?

  • Will you be segmenting your audience based on behavior or demographics?

  • Are you planning to sell products directly through your emails?

By understanding your objectives, you’ll be able to pick a platform that fits your needs instead of trying to adapt your strategy to the tool.

Step 2: Know the Key Features to Look For

The best email marketing services share a few critical features. Here’s what to prioritize:

  • Easy Drag-and-Drop Email Builder
    Create stunning emails without touching a line of code.

  • Automation Workflows
    Send personalized messages based on user behavior or set time triggers.

  • List Management and Segmentation
    Organize subscribers and tailor your content to specific groups.

  • A/B Testing Tools
    Test subject lines, content, and timing to optimize results.

  • Analytics and Reporting
    Track open rates, click rates, conversions, and more.

  • Integration Capabilities
    Connect with CRMs, eCommerce platforms, and other marketing tools.

Step 3: Compare Top Email Marketing Services

Here are some of the best and most popular options available in 2025:

1. Mailchimp

Best for beginners and small businesses.
Features intuitive design tools, a free plan, and excellent automation capabilities.

2. ConvertKit

Ideal for creators and bloggers.
Focuses on automation, tagging subscribers, and easy-to-use email sequences.

3. ActiveCampaign

Best for advanced automation and CRM integration.
Powerful features like split automation, sales pipelines, and detailed reporting.

4. Mailer Lite

Affordable and simple.
Great for startups or anyone needing powerful tools at a lower cost.

5. Brevo (formerly Sendinblue)

Good for transactional emails and marketing campaigns.
Offers SMS marketing along with email tools.

Each platform has its strengths, so align your choice with your specific goals.

Step 4: Take Advantage of Free Trials

Nearly all reputable email marketing services offer a free trial or a freemium plan.
Use this time to:

  • Explore the dashboard and features.

  • Test building and sending a campaign.

  • Check deliverability rates.

  • See how easy it is to set up automation.

  • Evaluate customer support responsiveness.

Choosing based solely on features or pricing can backfire if the platform feels clunky or confusing in real-world use.

Step 5: Set Up Your Email List Properly

Once you’ve picked a service:

  1. Import your existing contacts (if you have any).

  2. Create separate segments based on interests, behavior, or demographics.

  3. Set up a welcome email to introduce yourself and set expectations.

  4. Design your opt-in forms to grow your list steadily.

Remember: Always collect emails ethically — with clear consent — to comply with GDPR and CAN-SPAM regulations.

Step 6: Craft Your First Email Campaign

Keep it simple for your first send:

  • Use a clean, mobile-friendly template.

  • Personalize the greeting (e.g., “Hi [First Name]”).

  • Write a clear, compelling subject line.

  • Provide value first — don’t immediately push sales.

  • End with a strong call-to-action (CTA).

Always preview and test your email on multiple devices before hitting “Send.”

Step 7: Monitor Performance and Optimize

After sending your campaigns, monitor:

  • Open Rates: Are your subject lines working?

  • Click-Through Rates (CTR): Are readers engaging with your content?

  • Unsubscribes: Are you losing people? If so, why?

Use these insights to improve your future emails. Small tweaks, like adjusting send times or refining your CTA, can lead to significant improvements over time.

Final Thoughts

Choosing the best email marketing service doesn’t have to be overwhelming. By understanding your goals, knowing what features to prioritize, trying platforms firsthand, and setting up a strong foundation, you’ll be well on your way to building a profitable and lasting email marketing strategy.

Email marketing is not just about selling — it’s about building genuine relationships with your audience over time.

Start today, keep learning, and soon, you’ll see the power of email marketing working for you!

Read more

The Ultimate Step-by-Step Hiking Guide: Perfecting Your Outdoor Adventure

Hiking is more than just a walk in the woods—it’s a gateway to adventure, self-discovery, and connection with nature. Whether you’re a novice eager to tackle your first trail or a seasoned hiker aiming to refine your skills, this comprehensive guide will equip you with everything you need to perfect your outdoor adventures. From planning and preparation to mastering trail techniques and overcoming challenges, we’ll walk you through each step to ensure your hikes are safe, enjoyable, and unforgettable.

Why Hiking? The Benefits of Hitting the Trail

Before diving into the nitty-gritty, let’s explore why hiking deserves a spot on your bucket list:

  • Physical Health: Builds endurance, strengthens muscles, and improves cardiovascular fitness.
  • Mental Wellness: Reduces stress, boosts creativity, and enhances mood through nature immersion.
  • Social Connection: Strengthens bonds with friends, family, or hiking communities.
  • Environmental Appreciation: Fosters a deeper respect for natural ecosystems.

Ready to lace up your boots? Let’s get started.

Step 1: Plan Your Hike Like a Pro

A successful hike begins long before you hit the trail. Follow these steps to plan wisely:

A. Choose the Right Trail
  1. Assess Your Skill Level:
    • Beginners: Opt for well-marked, shorter trails (1–3 miles) with minimal elevation gain.
    • Intermediate: Gradually increase distance (5–8 miles) and elevation (500–1,500 feet).
    • Advanced: Tackle technical terrain, long distances (10+ miles), or high-altitude routes.
  2. Research Trail Details:
    • Use apps like AllTrails, Gaia GPS, or Hiking Project to review distance, elevation, and difficulty ratings.
    • Check recent trail reports for hazards like landslides, snow, or wildlife activity.
  3. Consider Season and Weather:
    • Spring: Watch for muddy trails and snowmelt.
    • Summer: Avoid midday heat; carry extra water.
    • Fall: Ideal for cooler temps and foliage views.
    • Winter: Prepare for ice and shorter daylight hours.
  4. Permits and Regulations:
    • Popular parks (e.g., Yosemite, Zion) often require permits. Book early!
    • Review rules for camping, fires, and pets.
B. Share Your Itinerary

Always notify a trusted contact of:

  • Trail name and location.
  • Start/end times.
  • Emergency contacts (e.g., park ranger station).

Step 2: Gear Up with the Essentials

The right gear ensures comfort and safety. Here’s your checklist:

A. Must-Have Hiking Gear
  1. Backpack:
    • Day hikes: 20–30 liters (hydration bladder compatible).
    • Overnight: 50–70 liters (with hip support).
  2. Footwear:
    • Trail Runners: Lightweight for dry, easy trails.
    • Hiking Boots: Mid-weight, waterproof (e.g., Gore-Tex) for rocky/muddy terrain.
    • Mountaineering Boots: Stiff soles for snow/ice.
  3. Clothing Layers:
    • Base: Moisture-wicking synthetic or merino wool.
    • Mid: Insulating fleece or down jacket.
    • Outer: Waterproof/windproof shell.
  4. Navigation Tools:
    • Topographic map, compass, GPS (with spare batteries).
  5. Safety Essentials:
    • First-aid kit, headlamp, whistle, multi-tool, and emergency shelter (space blanket or bivy).
B. Optional (But Highly Recommended) Gear
  • Trekking poles for stability.
  • Sun protection (wide-brim hat, SPF 30+ sunscreen).
  • Insect repellent and gaiters for wet areas.

Pro Tip: Test new gear on short hikes to avoid blisters or malfunctions on big adventures.

Read more
Select your currency
USD United States (US) dollar